

Most travel blog visitors read one post, close the tab and never return. A search brings them to a single page, they get their answer, and nothing on the page gives them a reason to come back. If you want to know how to turn website visitors into email subscribers, the work happens on individual posts, not on the site as a whole.
This article takes ONE existing travel post and adds an email opt-in to it in six steps: a free offer, a form, a placement, honest wording and a welcome email. You can copy the process on any post you already have live.
Why visitors rarely come back on their own
A visitor who finds a post through search has no relationship with your site. They have a question, and you answered it. Unless something invites them to stay in touch, the next time they plan a trip they will search again and land on whichever site ranks first.
An email list changes that. A subscriber has chosen to hear from you again, so you can reach them without waiting for a search engine to send them back. For a travel blogger earning through referral links and travel sponsorships, that matters twice. Your affiliate links work better with readers who already know your name, and a sponsor wants to see an audience you can reach directly.
You do not need a big list to start. You need a form on a post that already gets readers, and a reason for them to fill it in.
Step 1: Pick the ONE post that already gets visitors
Do not add forms to every post at once. Choose a single post and finish the job on it.
Open your analytics and find the post with the most visits. If your site is new and the numbers are small, pick the post that has been live longest or the one that answers the most specific planning question. The best candidate has three traits:
- It gets visitors now, so the form has someone to show itself to.
- Its reader is planning a trip, which means they have a practical need you can help with.
- It is a post you could improve with a free extra, such as an itinerary, a route or a list.
Write down the post’s title and the one question it answers. Everything in the next steps depends on that question. For the rest of this article, imagine the post is a seven-day itinerary for a coastal town. The question it answers is “what should I do with a week here?”
Step 2: Make a free offer that fits that exact post
A generic “subscribe to my newsletter” box asks the reader to commit to something vague. A free offer that continues the post gives them a concrete reason to say yes.
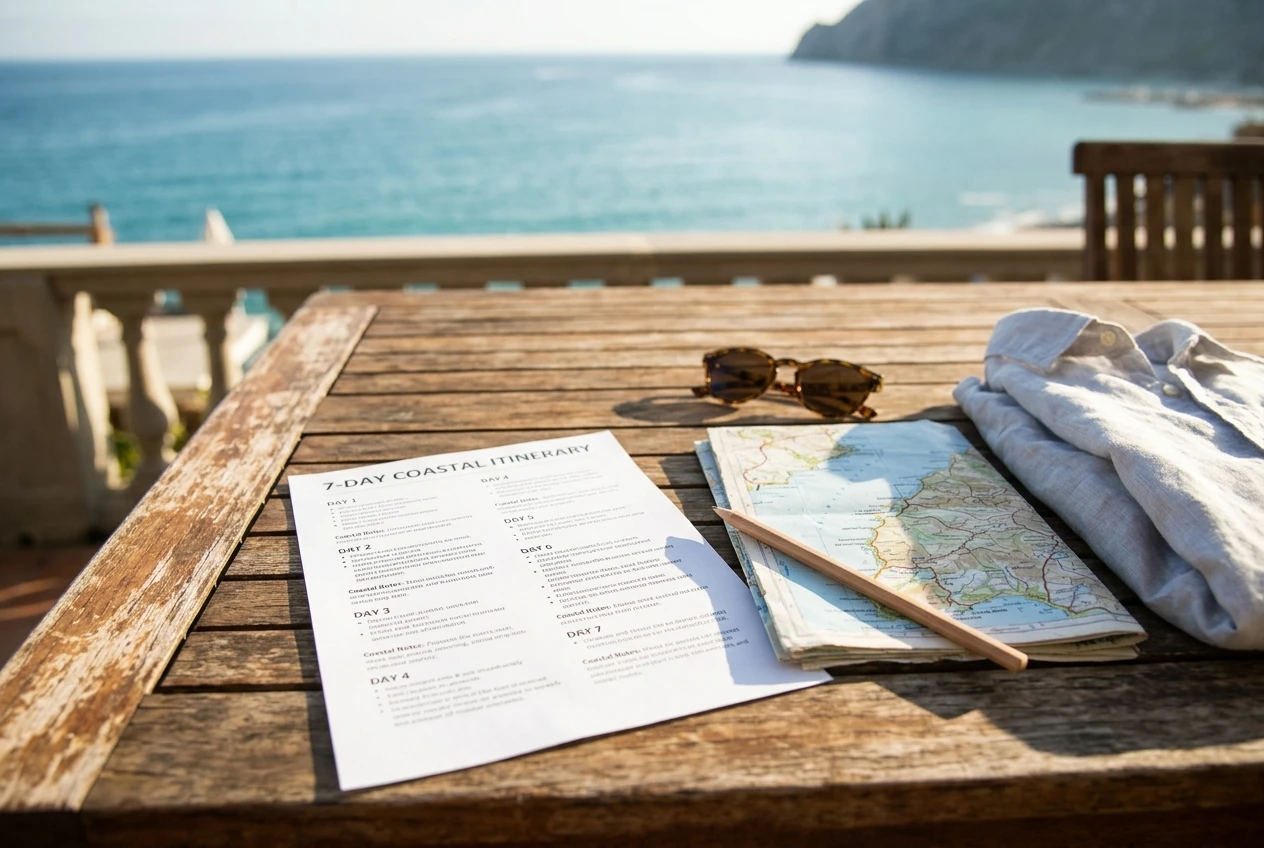
The offer should be something the reader would want at the moment they finish the post. For the coastal itinerary, that could be:
- A one-page printable version of the itinerary
- A packing checklist for that destination and season
- A short list of the places from the post, grouped by area, so the reader can plan each day’s route
- A simple budget sheet with blank lines for the reader’s own costs
Choose one and keep it small. A single page you can finish in an afternoon is better than a large guide that never gets made. You can build it in a free design tool or a word processor and export it as a PDF.
Only include facts you have checked. If the checklist lists opening hours or prices, those details go out of date, so leave them out or tell the reader to confirm them before travelling. If the offer contains affiliate links, say so on the page, in line with the disclosure rules that apply where you and your readers live.
Step 3: Build the sign-up form in an email tool
You need an email tool to collect addresses, store them and send messages. Two common options are MailerLite and AWeber, and I compared them side by side in this comparison of the two platforms. Read it before you pick, because switching tools later means moving your list.
Whichever tool you use, the setup follows the same order:
- Create a new list or group for this post’s subscribers, named after the offer.
- Create a sign-up form with an email field and a button. Ask for the email address only; every extra field lowers the number of people who finish the form.
- Upload your free offer file, or host it on a page and keep the link ready.
- Turn on confirmation of the subscriber’s email address if the tool offers it, so you collect only valid addresses from people who really asked to join.
- Write the button text. “Send me the checklist” tells the reader what happens next and works better than “Submit”.
Give the form a short headline that names the offer, such as “Get the printable seven-day itinerary”. One sentence under the headline can say what the reader receives. Keep the form visually simple so it matches the rest of your page.
Step 4: Put the form where a reader is ready to say yes
A form at the top of the post asks for an email address before the reader has seen any value. A form buried in the footer is seen by almost nobody. The best spot is where the reader has just got what they came for, or where they will want more.
For a travel post, three placements are worth using:
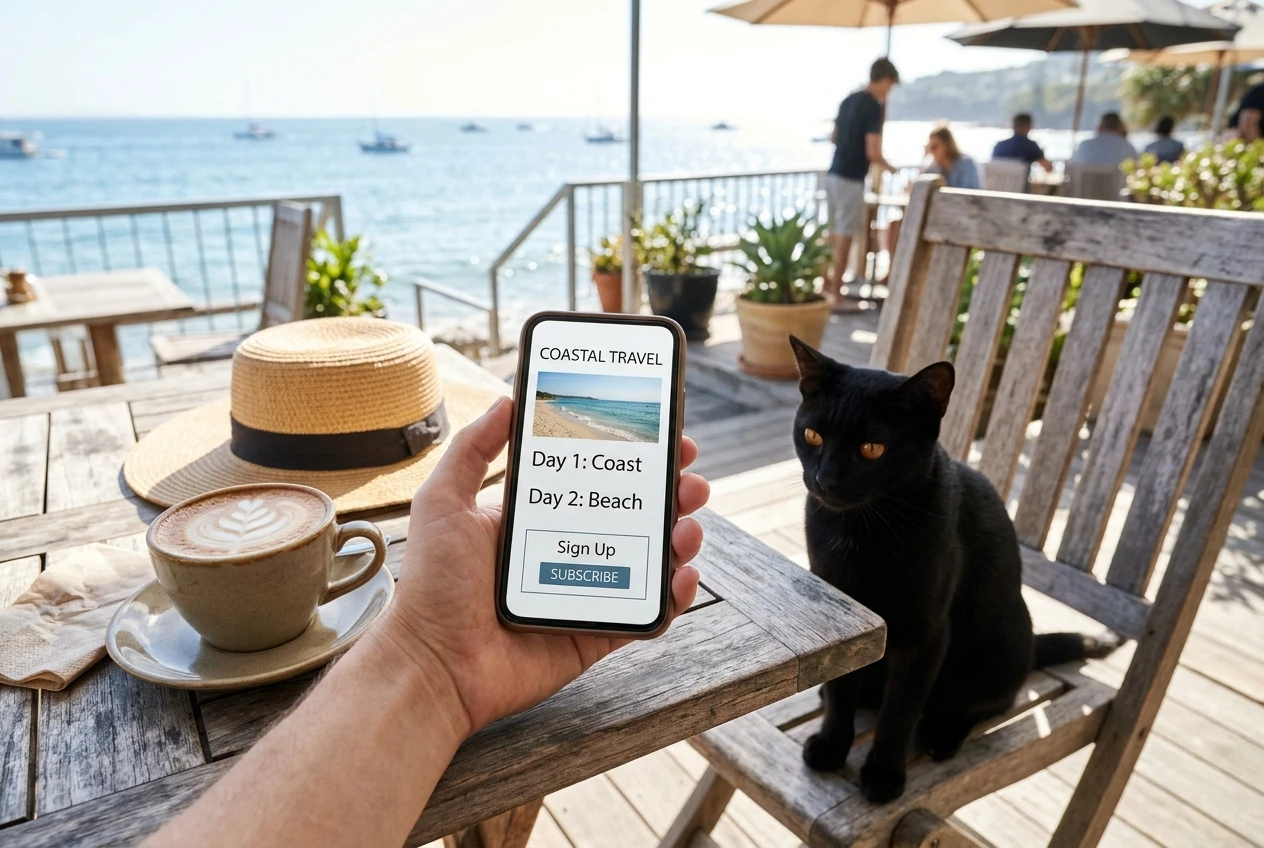
- Inside the post, after the section that matches the offer. In the itinerary, this is right after the day-by-day plan, with a line such as “Want this plan on one printable page?”
- At the end of the post. A reader who reached the bottom has read the whole thing and is the most interested.
- A slim notice near the top that links down to the form. This is optional. It lets a reader who is in a hurry find the offer without scrolling.
Use one full form and, at most, one extra link to it. Several forms stacked on a single post make the page feel pushy and look untidy on a phone. Check how it looks on a phone before you move on, because most travel readers browse there.
Step 5: Say plainly what subscribers get, how often, and how you use their email address
Readers are right to be careful with their email address. A few short lines near the form answer the questions they have before they ask them.
State three things:
- What they get. Name the offer and the kind of emails that follow, for example destination guides and tips for planning a trip.
- How often. Give a real rhythm that you can keep. Do not promise a weekly email if you cannot send one weekly.
- What you do with the address. Say that you use it only to send your emails, that you do not sell it, and that every email has an unsubscribe link. Link to your privacy policy.
Write it in plain sentences. Something like: “Enter your email and I will send you the itinerary as a PDF. After that you will get my travel planning emails, and you can unsubscribe at any time with one click.” Only write what is true of your setup.
If any readers live in the EU or UK, data protection law applies to how you collect and store their addresses. A clear statement, a deliberate sign-up and a working unsubscribe link are the basics, and your email tool’s help pages explain what it handles for you. For anything beyond that, check the official guidance for your region.
Step 6: Send a welcome email straight away
The moment after sign-up is when a reader is paying the most attention to you. A welcome email sent immediately delivers the free offer and tells them what to expect.

Your first message should do four jobs in a short space:
- Thank them and deliver the file or link you promised.
- Repeat what they will receive and how often, matching the wording on the form.
- Point them to one next thing, such as another post on the same destination.
- Invite them to reply with a question about their trip.
Set it up as an automation in your email tool so it sends without you. I wrote a full walkthrough for beginners in how to automate a three-email welcome sequence, which covers a longer series. One email is enough to begin with, and you can add the others later.
How to check the form works without trusting made-up numbers
Never publish or plan around a sign-up rate you have not measured. Averages quoted online come from other people’s sites and tell you nothing about yours. Test your own form instead.
Run these checks before you call the job finished:
- Sign up yourself with an address you can open, using the live post and not the preview.
- Confirm the confirmation. If you turned on email confirmation, check that the message arrives and the link works.
- Check the welcome email. It should arrive within minutes, include the working download link and look right on a phone.
- Look in the spam folder of that test address. If the welcome email lands there, fix it before readers see it.
- Check the subscriber list in your email tool and confirm your test address appears in the right group.
Once real visitors start signing up, track two figures that your tools report: how many people visited the post, and how many subscribers joined through that form. Compare them over a fixed period, such as a month, and write the result down. If few people sign up, change ONE thing at a time, such as the headline, the offer or the placement, and measure again.
When the first post works, repeat the six steps on the next most visited post with a new offer that fits it. The broader version of this process, covering the whole site, is in my general guide to turning visitors into subscribers.
Join the list
If you want to see this process from the reader’s side, join my email list through the same sign-up form described above. You will get a welcome email straight away, followed by emails about building business websites and travel blogging, and the form tells you how often they arrive.